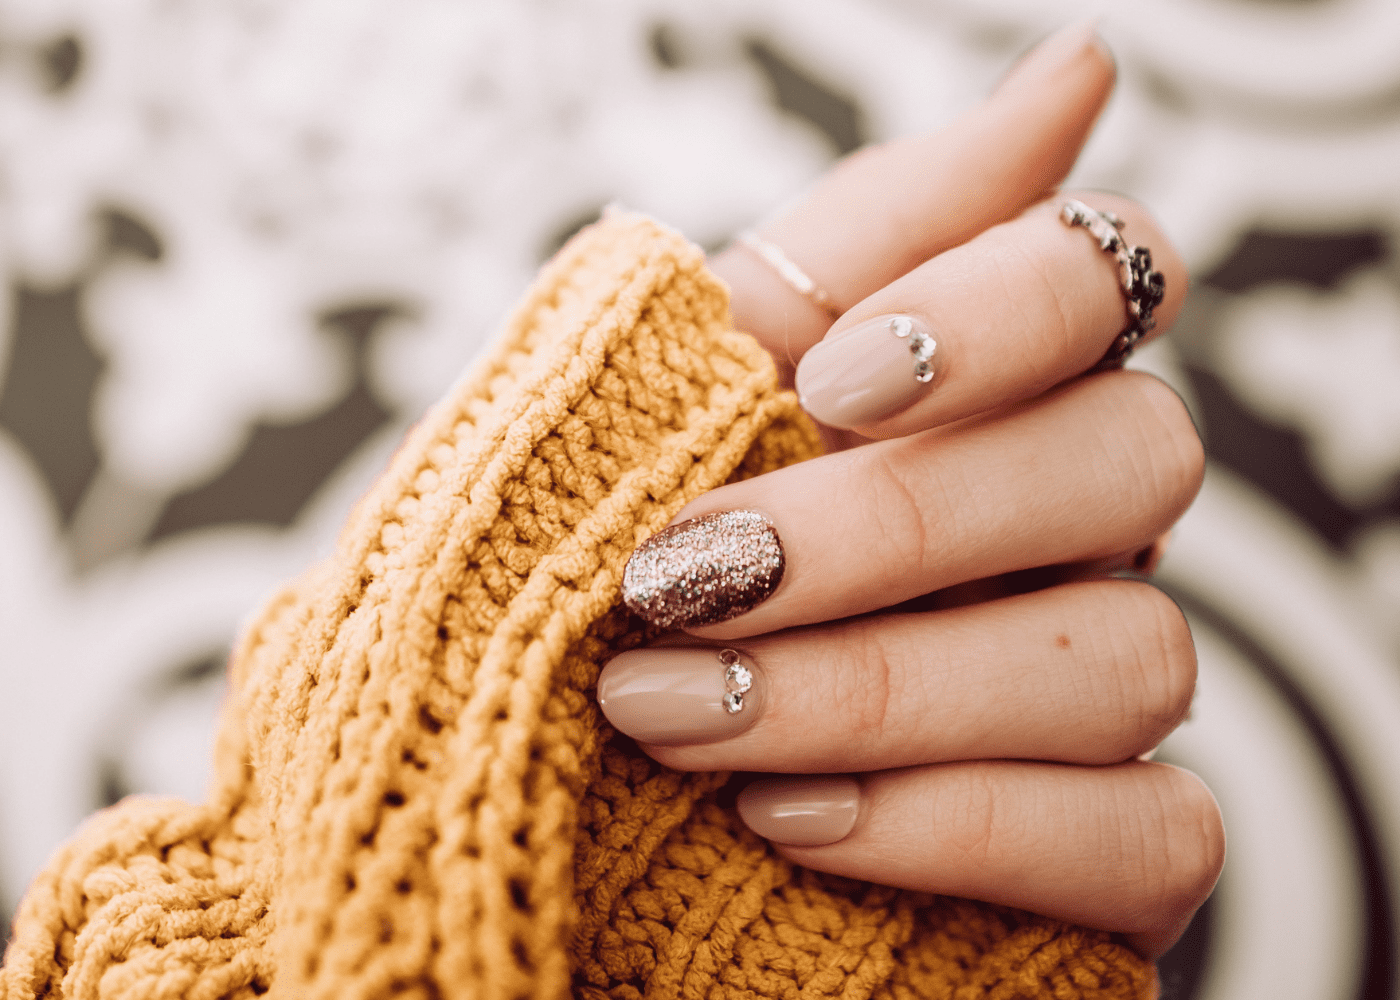
There’s *nothing* quite like a meticulous manicure to perk up your mood.
As a beauty editor and trained nail technician, there’s nothing I love more than lifting someone’s spirits with a vibrant hue or detailed nail art. But when the time comes to remova I don’t blame you for regretting the manicure altogether. Even the pros find manicure removal a total nuisance.
If that sounds all too familiar, I might just have the solution.
If you’re looking for intricate, fun designs that last without the effort of removal, enter : nail wrap stickers. They’re easy to apply (I promise it doesn’t require the patience of a saint), come in a variety of designs and are a doddle to remove — if you know how to do it correctly that is.
Removal doesn’t have to be complicated, but it’s worth doing right! You’ve probably heard about the damaging nature of gel and acrylic manicures as of late, but the truth is, damage typically only comes when removal is carried out incorrectly.
So while it seems OTT at times, it’s worth knowing *exactly* how to remove nail wraps to keep your nails in tip-top condition.
If you’re feeling a bit clueless, fear not! With the help of fellow nail tech and Lechat Educator, Syreeta Aaron, we’ve gathered everything you need to know about nail wrap stickers, including how to apply them, remove them and all the tips and tricks in between.
Nail wraps might be your new favourite manicure when you see how easy they are to remove!

Image – Darya Lavinskaya/Adobe
What *exactly* are nail wrap stickers?
So, what *exactly* are nail wrap stickers? Well, they’re pretty much exactly as described. They’re special nail stickers that are curved to fit the contours of each nail giving the illusion of being completely painted.
The tacky base means it’s basically a stick-and-go job. Even though there’s nothing I love more than a comprehensive, perfect gel manicure, I’ve come to love nail wraps. They’re reliable, super easy to apply (especially in a rush) and incredibly creative.
They’ll fool ANYONE into thinking they’re hand-painted, too. That’s why they always have a permanent place in my nail stash.
There are a few reasons nail wrap stickers are such a popular choice:
1. No painting required
The biggest excuse people give for avoiding at-home manicures is because they’re not great at the actual painting part. There’s a reason it’s a profession and that’s because it’s not the easiest skill to master, especially on your own when painting with your non-dominant hand.
With nail wraps, painting isn’t always a requirement and at most, it only calls for a clear top coat.
2. No prolonged drying time
The second worst thing about doing your nails at home is waiting for them to try. Even with the best intentions to sit still, sod’s law means that the doorbell rings and you end up smudging them.
Nail wraps don’t need to dry in between layers meaning less room for smudging. The only thing you need to dry is one clear top coat and I recommend getting a fast dry top coat, meaning you’re good to go after 6 seconds.
3. You can do them on the go with no smells
They’re the only true on-the-go manicure out there (besides press-on nails but even that requires a smelly glue) thanks to no smell and drying time. You can quite literally apply them on the train, car (whilst being passenger princess only, of course!) or at your desk before heading out for work drinks.
Although adding a top coat gives nail stickers longevity, it’s not always essential.
4. No special equipment or patience needed to remove them
Unlike gels where you need various files, base coats, lamps and remover, wraps used on their own or with a clear top coat are far easier to apply and take off without lots of equipment needed.
5. They’re SO creative
Hand-painted designs require both a high level of skill AND a time commitment and while there’s nothing better than a pro manicure, nail wraps are perfect for beginners.
There are so many designs to choose from to suit everyone’s tastes, from barely-there minimalist patterns to complex art, you’ll find plenty of sets to suit you.

Image – marinafrost/Adobe
How to remove nail wrap stickers?
You’ve worn your nail wraps (and loved them) and now it’s time to swap them out for a different design; if you’re here, you’re likely wondering how to do so.
There are two ways and it depends on whether you’ve sealed your wraps with a gel top coat or regular nail polish top coat.
If you’ve used regular nail polish:
If you haven’t topped your manicure off with gel then the removal process is much easier. You simply need some acetone nail polish remover and some cotton pads. Soak your cotton pad in acetone and hold it onto the nail for 10 seconds then gently wiggle as you remove.
You might need to repeat this process to make sure all of the wrap is removed. You should see that the acetone breaks down the top coat and wraps pretty quickly.
You can use non-acetone remover but it takes much longer. “The less acetone percentage of a remover can prolong the process,” says Syreeta. If you’re worried about drying out your cuticles, before using acetone, you can pop some cuticle oil on the skin around your nail to keep it moisturised.
If you’re using gels:
Now, if you’re trained and have a kit at home, you might add a gel top coat over the nail wrap. Doing this adds much more longevity to the mani, meaning it can last up to 2-3 weeks versus up to 7 chip-free days a normal top coat gives.
For wraps that are sealed with a gel top coat, you’ll have to be a little more thorough with removal to make sure you don’t cause any damage. “Peeling gel polish off could possibly take away layers of the nail that could have been prevented by simply soaking the gel polish off,” says Syreeta.
First, take a 100/180 grit file and buff away the shiny layer of the gel. This step is *super* important because, “if the topcoat is not filed off, the acetone cannot penetrate to the colour-based polish,” or in our case, nail wraps.
You can then either soak your nails in a bowl of acetone after filing or wrap them in acetone-soaked cotton wool. “To soak your nails you may use a glass bowl and fill it with acetone, only enough to cover your fingernails,” explains Syreeta.
“It’s best to try to use the acetone only on the nails and try avoiding fingers as much as possible. Keep in mind that acetone is a solvent and is used to break down materials like polish, acrylic, varnish or even grease,” she adds.
Most people find the most effective way is by taking a small amount of cotton wool — the smaller the better and sometimes you can just use the fluff inside the cotton pad — soaking it in acetone, placing that directly onto the filed nail and then wrapping the finger in aluminium foil; “Just large enough to wrap each finger.” This makes sure the acetone reaches the nail to get hard to work without evaporating.
“Depending on the thickness of the nail, soaking can take anywhere from 15 to 20 minutes,” says Syreeta. If you remove the nail from the acetone or cotton wool wrap and it hasn’t come off, simply repeat the soaking process.
The nail polish and wrap should easily flake off and you shouldn’t have to force it off — this is where the damage happens.
Always follow with a thorough hand wash then cuticle oil and hand cream to avoid the acetone drying the skin out.
Now we’ve covered the basics, let’s move on to many frequently asked questions when it comes to nail wraps.

Image – LIGHTFIELD STUDIOS/Adobe
What are the downsides of nail wraps?
As far as low-maintenance and easy-to-apply manicures go, nail wraps are a great solution. But like all manicures, there are a few drawbacks — there really aren’t many though.
They don’t last as long as a traditional gel manicure or acrylics
The best part of nail wraps is the fact you can get fun designs in a matter of minutes, but that does mean the durability isn’t there.
They’re not designed to last like traditional gel or acrylic manicures so you might be disappointed if you expect 3 weeks of chip-free wear.
They can be a faff to apply at first
I’ll be honest, they can be a bit of a faff to begin with. Getting the wrap completely flush to the nail without any bubbles can take a little getting used to so I recommend doing a few practice nails when you’ve got time to play around. That way you’ll have it perfected for when your next special occasion comes around.
There’s always a risk of nail damage when doing your nails at home
The good news is, nail wraps are one of the least damaging when it comes to types of manicures out there, especially at home. This is because it requires very little equipment and training to both apply and remove.
The sticky nature of them means you don’t even need glue to apply. In fact, if nails stop you from biting and picking they can actually help make your nails stronger and healthier — a win-win!
Be careful not to damage surfaces
“When soaking nails off, always remember to choose a safe place to do so. Acetone may eat away on surfaces so it’s always best to use a glass surface that can easily be wiped and avoid wood surfaces,” Syreeta advises.

Image – duyviet/Adobe
How long do nail stickers typically last?
When it comes to longevity, it’s really all down to how you finish the manicure. Are you forgoing the top coat because you’re in a rush? Are you using a gel top coat to seal everything in?
Unsurprisingly a gel-topped nail wrap sticker is going to last much longer than one with no clear coat.
For no top coat at all, you’re looking at a few days maximum; and that’s if you’re being really careful with them. If you have used a clear top coat, you can expect the manicure to last around a week. Finally, if you’ve topped it off with a gel top coat, which has been cured under a UV lamp, this can last anywhere up to 3 weeks.
As with all manicures, it depends on how careful you’re being too. Oh, and don’t forget the cuticle oil — this makes a huge difference in keeping the nail flexible and preventing chipping and snapping.
How to apply nail stickers
Although it takes a minute to get the hang of it, nail wraps are *super* easy to apply.
Step 1: Start with a clean base removing the nail of all old nail polish and grease by going over each one with an acetone-soaked cotton pad.
Step 2: Then decide which size you think fits each nail best before peeling them off the sticky base; it doesn’t matter if they’re slightly too big but you want to avoid them being too small as it can be quite obvious.
Step 3: Once you’ve chosen, carefully peel the stickers off (you might want to use tweezers for this) and starting at the base of your nail, start to stick it on and smooth out as you work your way up towards the free edge.
Step 4: Smooth the entire nail out and then fold the sticker over the free edge of the nail, then take a file and carefully file the free edge at a vertical angle. The leftover sticker should break away from your nail without ripping the perfectly smoothed-out base.
Step 5: Once it’s fully stuck on, you can follow this up with either a regular clear top coat or a gel top coat which is then cured.
Step 6: Finish with lots of cuticle oil and marvel at your creation!

Image – Darya Lavinskaya/Adobe
How to make them last longer?
When it comes to the longevity of a manicure, there’s one rule nail techs go by: “Jewels, not tools”. If you want your manicure to look good for as long as possible, don’t treat them like tools. That means wearing gloves to wash up, being careful opening cans and no nail biting.
Generally, the more care you take to apply your nail wraps, the longer they’ll last. Set aside a good 30 minutes to an hour to apply your wraps so you don’t miss a step or rush it. Although it seems like a lot of effort, you might just find this is one of your favourite bi-weekly rituals.
And most importantly, use cuticle oil twice a day — minimum. Applying cuticle oil moisturises the nail and surrounding skin, which stimulates growth and also helps keep the nail flexible and less likely to experience trauma and breakage. Keep one by your bedside and another where you work or by your sink after washing your hands.
Meet the expert
Alabama-based LeChat educator and ambassador Syreeta Aaron’s passion for nail art began as early as five years old. Since then, her love affair for nails blossomed into a professional nail tech career of 17 years.
When she became an educator in 2017, Syreeta found she was able to combine technical skills, creating artistic nail designs and travelling into one career in an industry that she loves the most.


